Verrotwood AAR - Place of Power
Introduction
The ancient stones send out their arcane emanations. The cultists of the Wisentii and The Uncoiling of Beiysss converge on the Place of Power to battle for Favor in the name of their dark gods.
 |
| The Uncoiling of Beiysss |
 |
| Wisentii |
Set up
The Place of Power is the second game of the Awakening Campaign from the rulebook. (The AAR for the first game, the Relic Hunt is here). Pre-game I rolled for additional terrain and generated a piece of Wicked terrain. The creature roll generated a Madman who I deployed in the centre of the table.
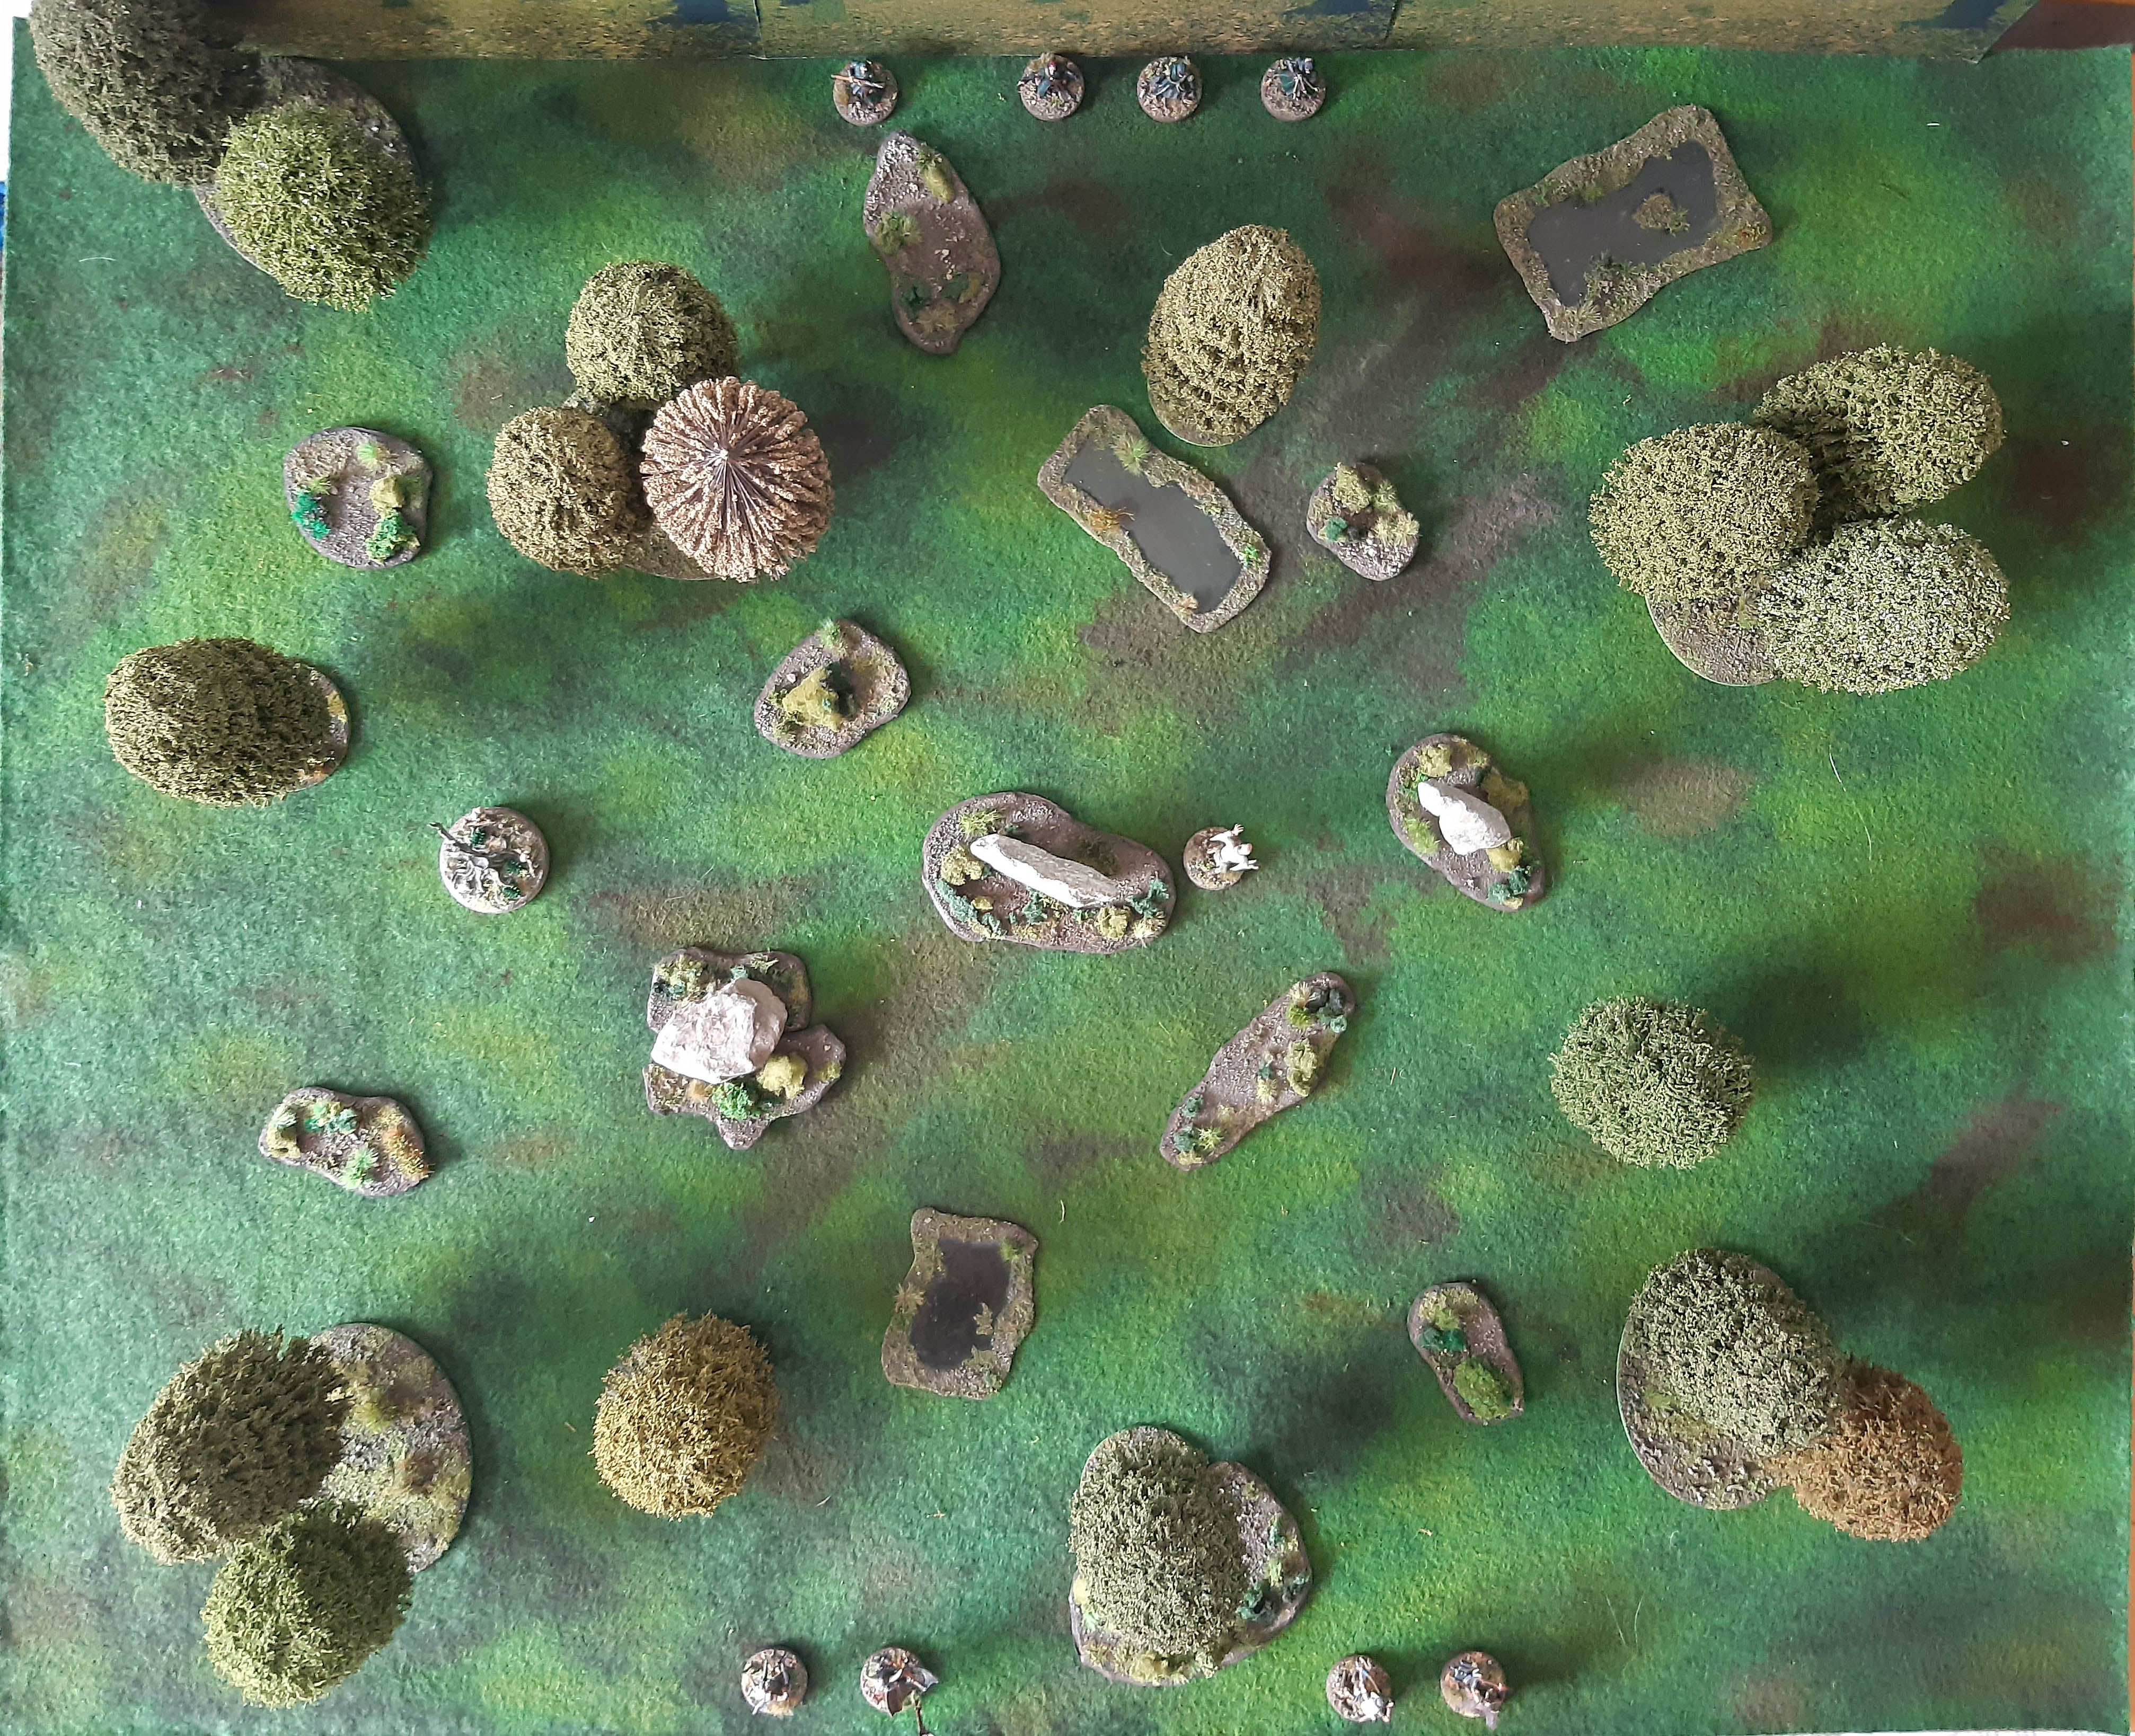 |
| Starting position with Wisentii deployed at the bottom |
Round 1
The Horns is the first cultist token drawn and she uses her two actions to Run towards the nearest Stone of Power.
SerpensNadrew acivates next and his actions mirror the Horns as he Runs towards the nearest Stone.
The Heart of the Wisentii is next to move but her Run action is stopped by some difficult terrain so she doesn't get far.
SerpensEnirethec of The Uncoiling has a similar experience only moving 6 inches.
The Madman is next to activate. His first activation moves him in the direction of the advancing Uncoiling cultists. His second activation roll is a 3 and the subsequent roll a 5,which means that all Cultists within 9 inches take 3 damage. SerpensEnirethec and SerpensNadrew recoil in sudden pain from the mere proximity of the raving lunatic.
 |
| Watch out nutter on the loose! |
SerpensLeachim is a bit luckier and he Runs his full distance towards the Stones.
The Breath of the Wisentii is next and he takes the same action, running full pelt to be in position to claim a Stone.
The Hooves is the last of the Wisentii and his Run action is checked by difficult terrain.
The last of The Uncoiling to activate is SerpensMinajnem who is also stopped in his tracks by difficult terrain.
Round 2
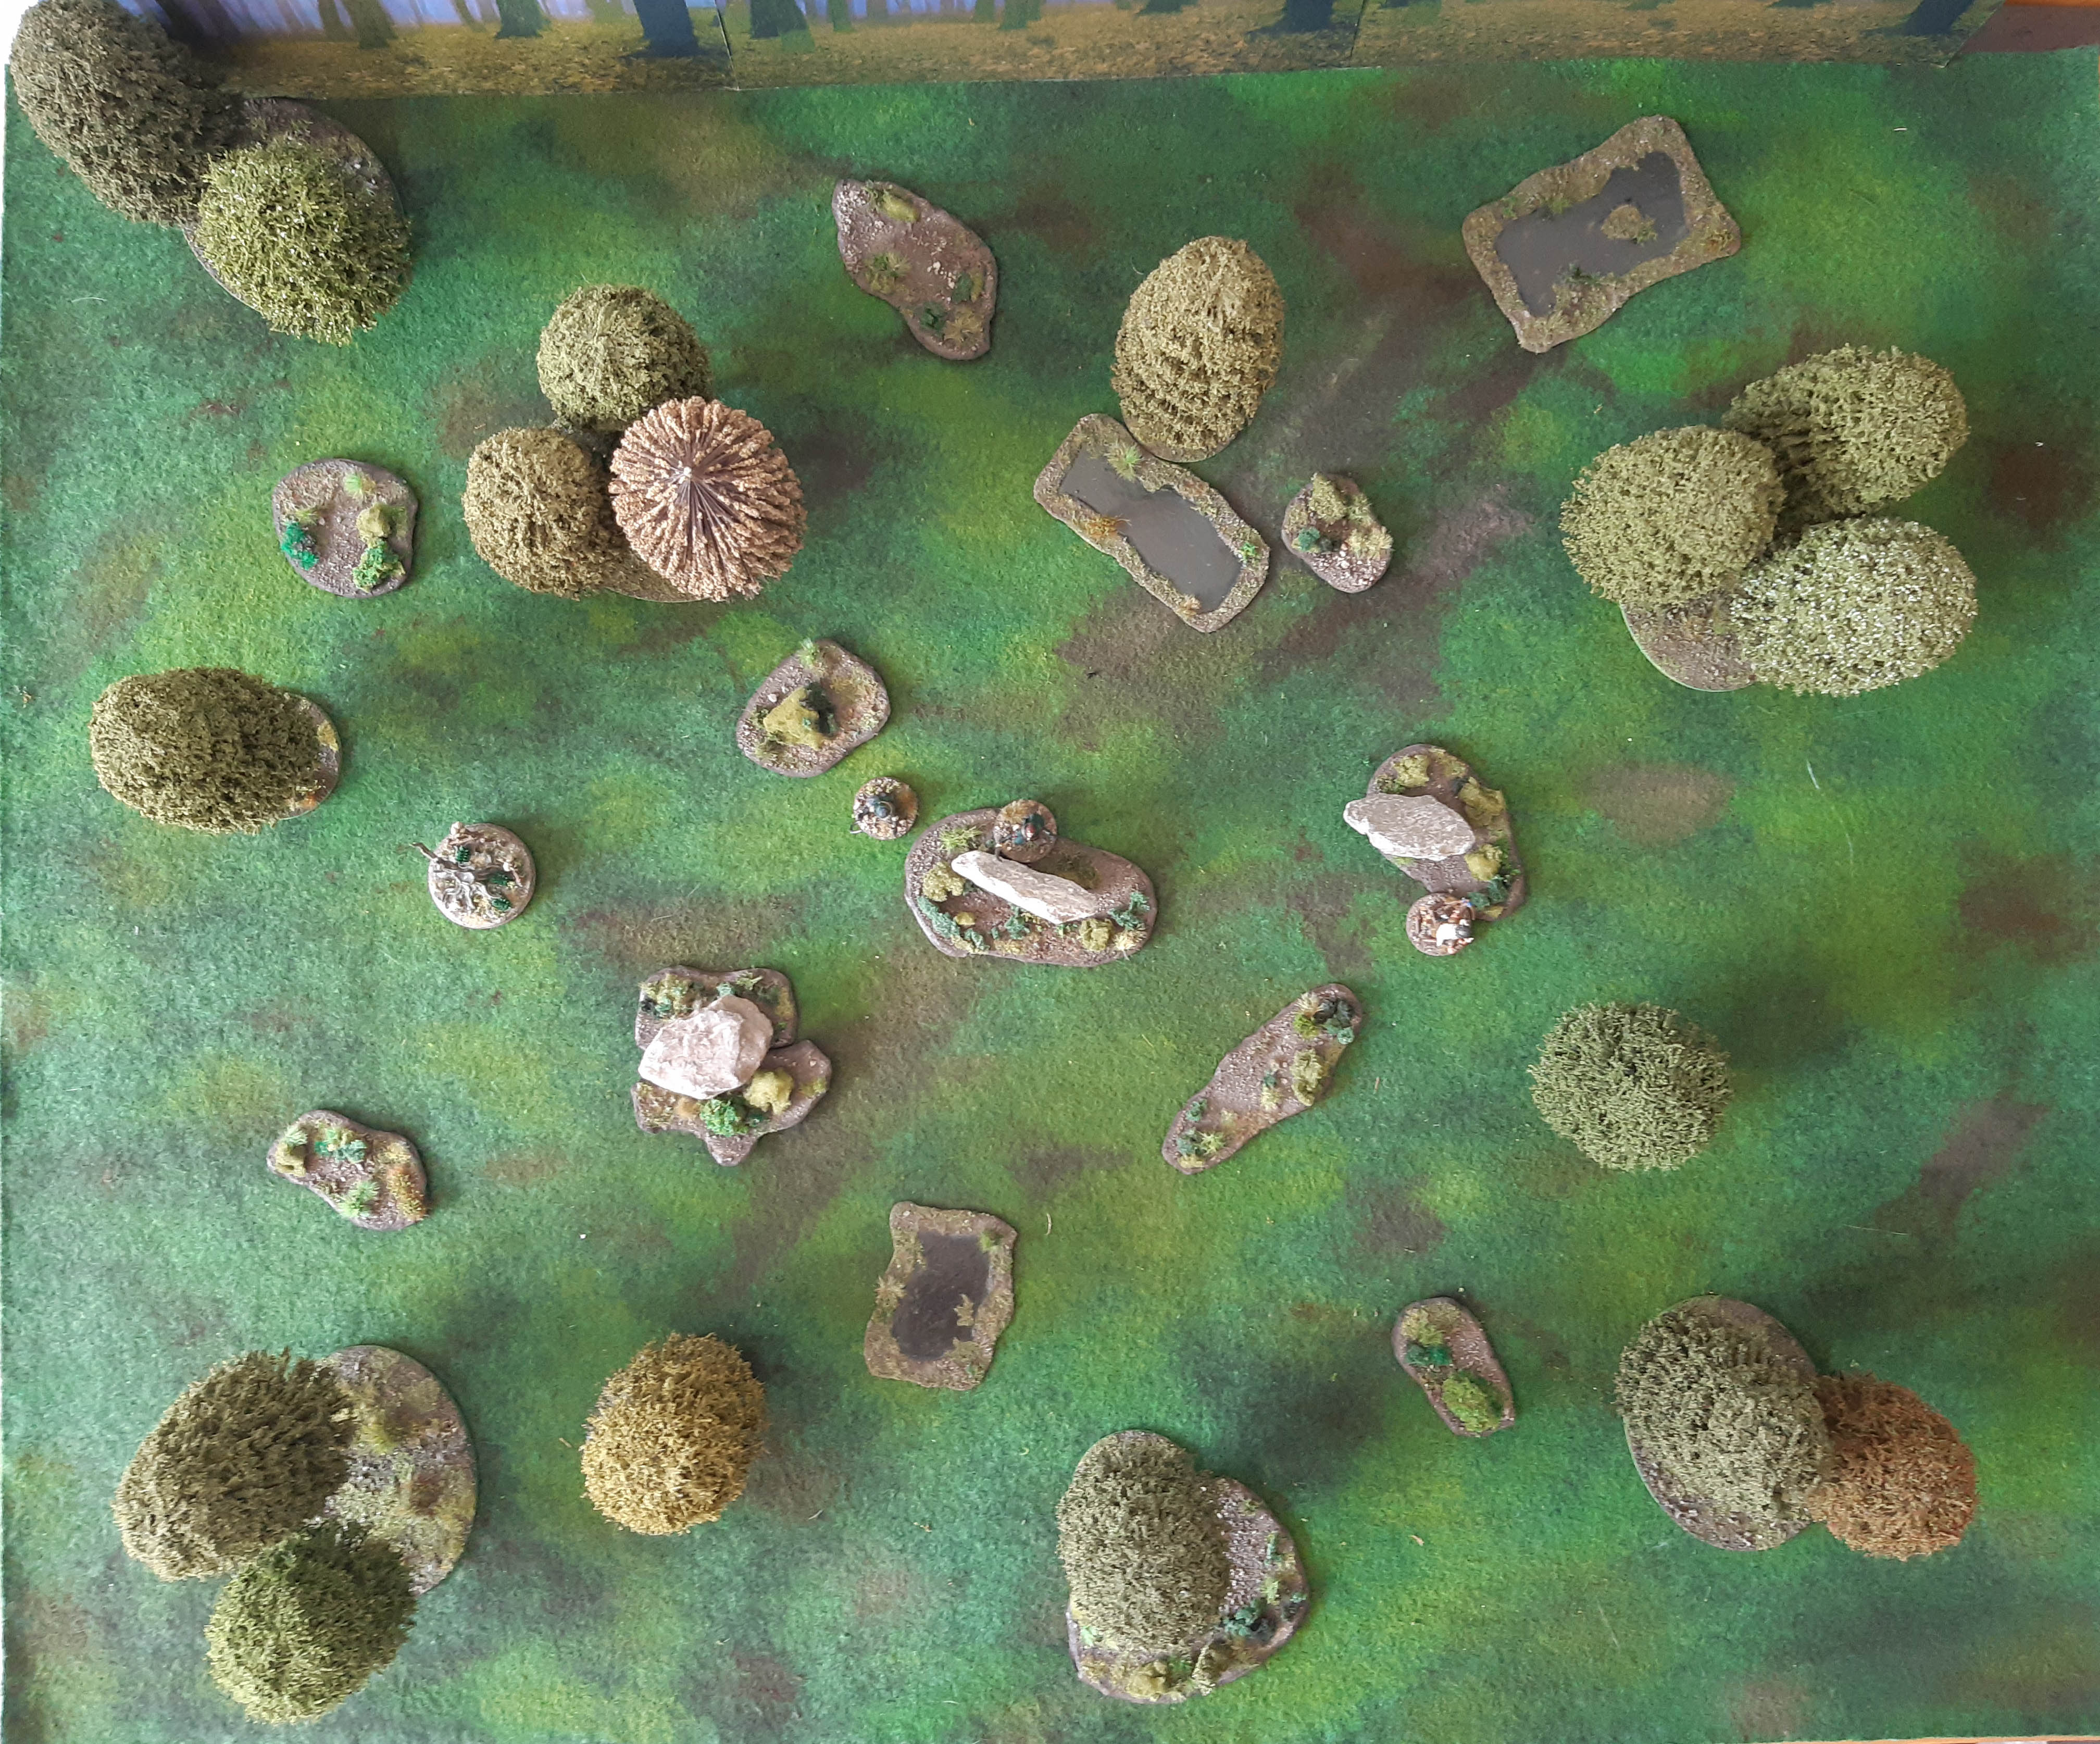
 |
| Starting positions Round 2 |
The Madman activates first, what will he do? No one knows least of all himself. This time he charges SerpensNadrew and attacks him in Melee. Nadrew's DEF die is better than both of the Madman's STR rolls, his attack is so wild it has no effect. Nadrew's counter is drawn next and he attacks the Madman. He does better inflicting 8 DAM.
 |
| Nadrew vs the Madman |
SerpensMinajnem negotiates the difficult terrain and bypassing the melee focuses on getting to a Stone.
 |
| Wicked terrain ends The Horns |
SerpensLeachim uses his action to Run and touch a Stone ready to Pray next turn and claim the Stone. His fellow cultist Entheric does the same, just reaching the central Stone with his Run action.
The last character to activate is the Breath. He spots SerpensMinajnem and shoots him with his bow for 5 DAM. He uses his second action to move towards a Stone.

Round 3
 |
| Starting positions Round 3 |
The Breath activates and he claims a Stone by touching it and making a Pray action (gaining Ritual Points in the process).
The Heart Moves and attacks SerpensEnthirac to prevent him gaining control of a Stone. She succeeds and the 8 DAM exceeds his remaining Health and he goes out of action.
 |
| The Heart does does for Enthirac |
SerpensMinajnem Moves for one action and then uses his other action to engage the Heart in Melee. His sickle rakes her for 8 DAM.
Nadrew has no choice but to fight the Madman. His Melee attack succeeds and the Madman falls under Nadrew's sickle to rave no more.
Now clear of the difficult terrain The Hooves of the Wisentii takes to his hooves and Runs to touch one of the Stones.
The last character to activate is SerpensLeachim who fires his crossbow at point blank range at the Hooves. His bolt strikes true inflicting 8 DAM on the Wisentii.
 |
| SerpensLeachim plugs The Hooves |
Round 4
 |
| Starting positions Round 4 |
It’s the penultimate round and the Hooves is first to activate. Bellowing with rage he charges SerpensLeachim, desperate to take his revenge. His mighty two hand hammer comes down and Leachim is hit for 8 DAM.
 |
| The hammer comes down |
SerpensMinajnem Melee attacks The Heart. The attack is a success and she feels the sickle slice her for another 8 DAM which takes her out of action.
 |
| The Heart fails |
Dropping his crossbow, SerpensLeachim attacks The Hooves with his dagger and sticks the big Wisentii so badly that it exceeds his DAM rating and he goes out of action.
The Breath having claimed a Stone in the previous round fires point blank at SerpensLeachim. His arrow plugs The Uncoiling crossbowman and he falls.
 |
| The Breath shoots SerpensLeachim |
SerpensNadrew activates and Moves to touch the middle Stone.
Round 5
 |
| Starting positions Round 5 |
The Breath stays where he is to lay final Claim on his Stone.
SerpensNadrew takes a Pray action to claim the central stone and SerpensMinajnem holds his position as he's perilously close to the wicked terrain. And that's the end of the game.
 |
| Praying at the Stone of Power |
Summary
Adding up the victory points for the game shows that both The Uncoiling and Wisentii claimed one Stone each. However, three of the Wisentii were taken Out of action as opposed to only two for The Uncoiling. Therefore, victory is awarded to The Uncoiling of Beiysss and they receive 1 Power and 100 Favor, with the Wisentii receiving 50 Favor.
This was a fun and lethal game. Of the nine characters on the table at the start only three were left by the end.
In the post game phase it got even worse for the Wisentii as the Heart and Hooves were declared dead when rolling on the Post-Encounter injury table. During the Explore the Forest phase, there was some small compensation as The Breath acquired some poison. They'll need to use some of their Favor to equip the new cultists.
The Uncoiling didn't come away completely unscathed. Due to being taken out of action, both SerpensEnirethec and SerpensLeachim lost a point of Health which they take to the next game. The Explore the Forest phase was even worse, as after barely surviving an encounter with a water spirit, SerpensMinajnem suffered 5 DAM which means he’ll be extremely vulnerable next game. They do have enough Favor now to improve some stats.
I now need to build and paint a couple of new characters for the Wisentii, so they'll be a slight delay in the games while I do that. I’m going to bump them up the painting queue as I’m really looking forward to seeing how the campaign develops.


That was an entertaining, and lethal, write up.
ReplyDeleteThanks very much, glad that you enjoyed it.
Delete