Budapest Breakout - Ambush Alley AAR
Introduction
Budapest February 1945. After a 100-day siege and three failed relief attempt, Obergruppenfuhrer Pfeffer-Wildenbruch of the IX. SS-Gebirgs Corps finally gives the order for the garrison to breakout. It’s far too late and the breakout is an uncoordinated disaster with small pockets of men cut to pieces by the Red Army. This is an action of one such group made up of nine survivors from the 22. SS-Freiwilligen Kavallerie-Division.
Set up
Full details of the forces, including the Insurgency Table used for the game can be found here.
 |
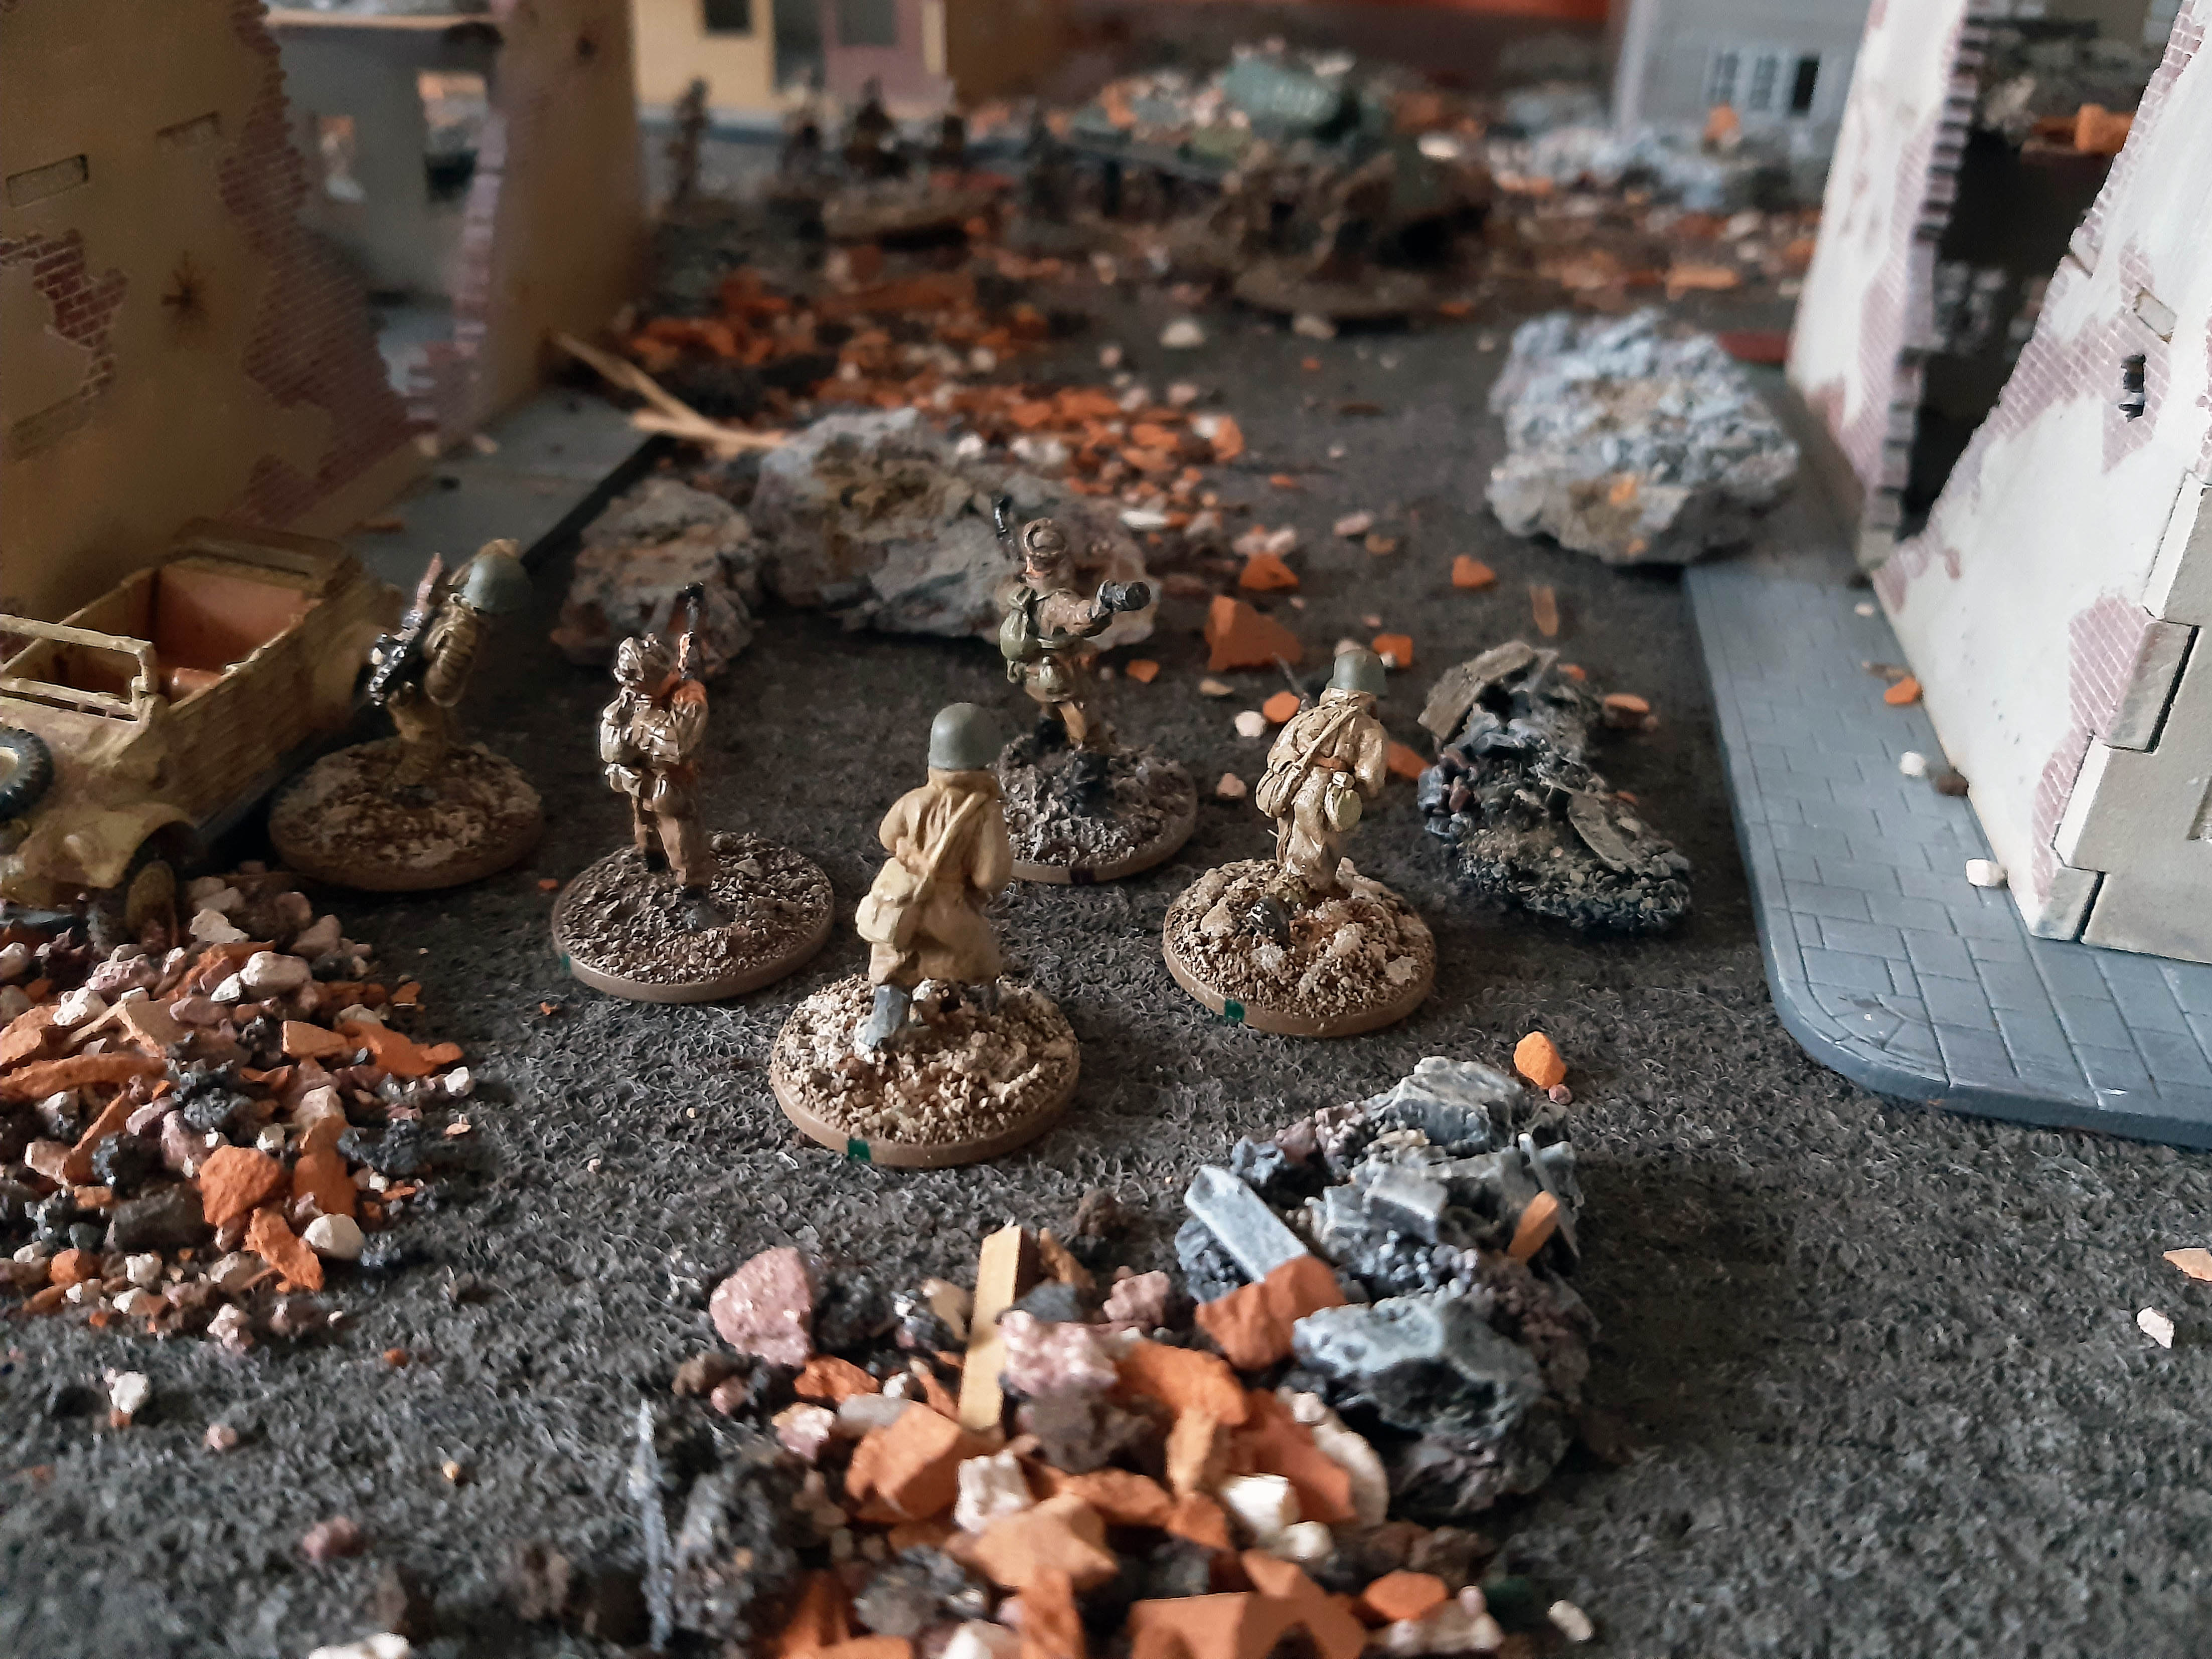
| Starting position, SS at the bottom |
Turn 1
The SS cavalry move cautiously up, aware of the need not to attract any Red Army attention.
 |
| The SS cautiously move forward |
Turn 2
The Insurgency Table roll generates an MMG team at Hot Spot 4. While not an immediate threat this does cover the crossroads that the SS will have to traverse.
The SS move up cautiously again. At some stage they will need to get a move on and that may trigger the Red Army sniper team in the upper floor of one of the buildings.
 |
| The sniper team wait Fascist prey |
Turn 3
The Insurgency Table roll brings an LMG team and Leader onto the table at Hot Spot 4 again.
The SS cautiously move up another 6 inches again. The Red Army LMG team try to interrupt, but fail and one of the SS teams gets to fire on them first. The SS throw a maximum of 6 successes which the Red Army team just can't match and they are wiped out.
 |
| Firefight in Buda! |
The Red Army MMG team now tries to interrupt and succeed in beating the Germans to the punch. They open up in a lethal hail of bullets and three of the four in that fire team are hit. Although they pass their Morale check, this team need helps.
 |
| The Maxim MMG opens up! |
All this shooting has now activated the Red Army sniper team. They fire on the same cavalry fire team and inflict another casualty. All of that team are now hit. Rolling on the Standard First Aid Table (WWII) the rolls are mixed. Two of the cavalrymen are Lightly Wounded, one is seriously wounded and one is dead.
Turn 4
The Insurgency Table roll reinforces the Red Army by 4 rifle armed soldiers led by an NCO with an SMG at Hot Spot 1 This is behind the SS cavalry and they're now being hemmed in.
 |
| Red Army reinforcements hem the SS in. |
The first job for the SS is to get the fire team that was shot up last turn into cover. There's now a dilemma for the SS-Oberscharführer. Does he stay and help this team or try and get the rest of his command out? He decides the latter and they move. The new Red Army unit try to interrupt before the movement, and they are successful. They open fire on the back of the SS team B. The Defense rolls are disastrous and three of the SS are hit. SS team B suffer one killed, one Light Wound and one unscathed. They also fail their Morale check and they are Pinned. Team A suffer another Light Wound which makes one of the previous light wounds a Serious Wound. Their Morale holds. They fire back to cause one casualty to the Red Army, but it's a poor return.
 |
| Red Army riflemen into action. |
It's now time for the other Red Army units to Activate. The Sniper team take a shot. His shot just misses the SS. Lastly it's the turn of the Maxim MMG team. Their relentless fire hits another two times. Has the escape attempt ended at this bloody crossroads in Buda?

Turn 5
The Insurgency Table roll generates a Red Army team of 4 SMG armed soldiers at Hot Spot 2, which is right at the crossroads and right in the thick of the action.
Team A open fire at the newly arrived SMG troops. Unsurprisingly due to the dire condition they are in, their fire is ineffective. The Oberscharführer empties his MP40 in desperation at the Red Army SMG troops but misses. Team B returns fire on the Red Army soldiers that had fired on them last turn. The Red Army try to interrupt but fail. Panic is setting in, the SS fire is poor and none of the Red Army soldiers are hit.
 |
| Down at the crossroads. |
The Red Army SMG team attacks SS Team A in Close Combat. They pass their Quality Check, the SS fail and due to having dependants can't flee. They are wiped out in the ensuing melee.
 |
| At close quarters! |
The Red Army riflemen move forwards cautiously and fire on the remaining SS. 14:47 Their shooting is poor and the hunkered down cavalry escape.
The Red Army sniper has a difficult shot at the Oberscharfuhrer and fails to pull it off. And the Maxim no longer have LoS so that's the end of the turn.
Turn 6
The Insurgency Table roll generates an LMG team and leader at Hot Spot 6 which blocks off the escape route.
Team B is now unpinned. It elects to move and the Red Army riflemen try to Interrupt, which they succeed in doing. They attempt a Close Assault, passing their Quality Check they press home the attack. The shocked SS fail their Quality Check and don't get a chance to fire. This time however the Red Army dice are atrocious and there's no successes. The Germans strike twice but the Red Army defend.
 |
| Close assault in progress. |
In the second round the Red Army have got their foes measure and cause two casualties. The Germans get one back, but in the third round they are overwhelmed. Like so many of their comrades they've come to a bloody end in the streets of Budapest.
 |
| The end! |
Conclusion
It's been some time since I played Ambush Alley and I'd forgotten what a good game it is. I'd also forgotten quite a lot of the rules and got a bit confused!
Although this wasn't an asymmetric game as such, I find that using the Insurgency Table to add reinforcements really adds to the suspense. It gives enough twists to make for a great solo game.
This was the third and final instalment of my Hungary '45 games (others here). Id wanted to play some games at the same time of year as when these combats took place 80 years ago. The campaign has held a long time fascination for me. I've tried to play games that may not be exactly accurate, but are at least plausible and capture the feel of the events and reflect some of the situations that are likely to have taken place.


Fine looking game. Enjoyed the report.
ReplyDeleteThanks Richard, really pleased you enjoyed it.
Delete