Removing the Head - An Ambush Alley AAR set during The Algerian War
Mission Brief
A selected team from the 1er Régiment Etranger de Parachutistes (1er REP) have been inserted into the djebel to try to capture or kill the ALN leader, Akili Benchabla, The Viper. Having pursued their quarry for days they at last have him in sight. But will he escape their clutches yet again?
Table Set up
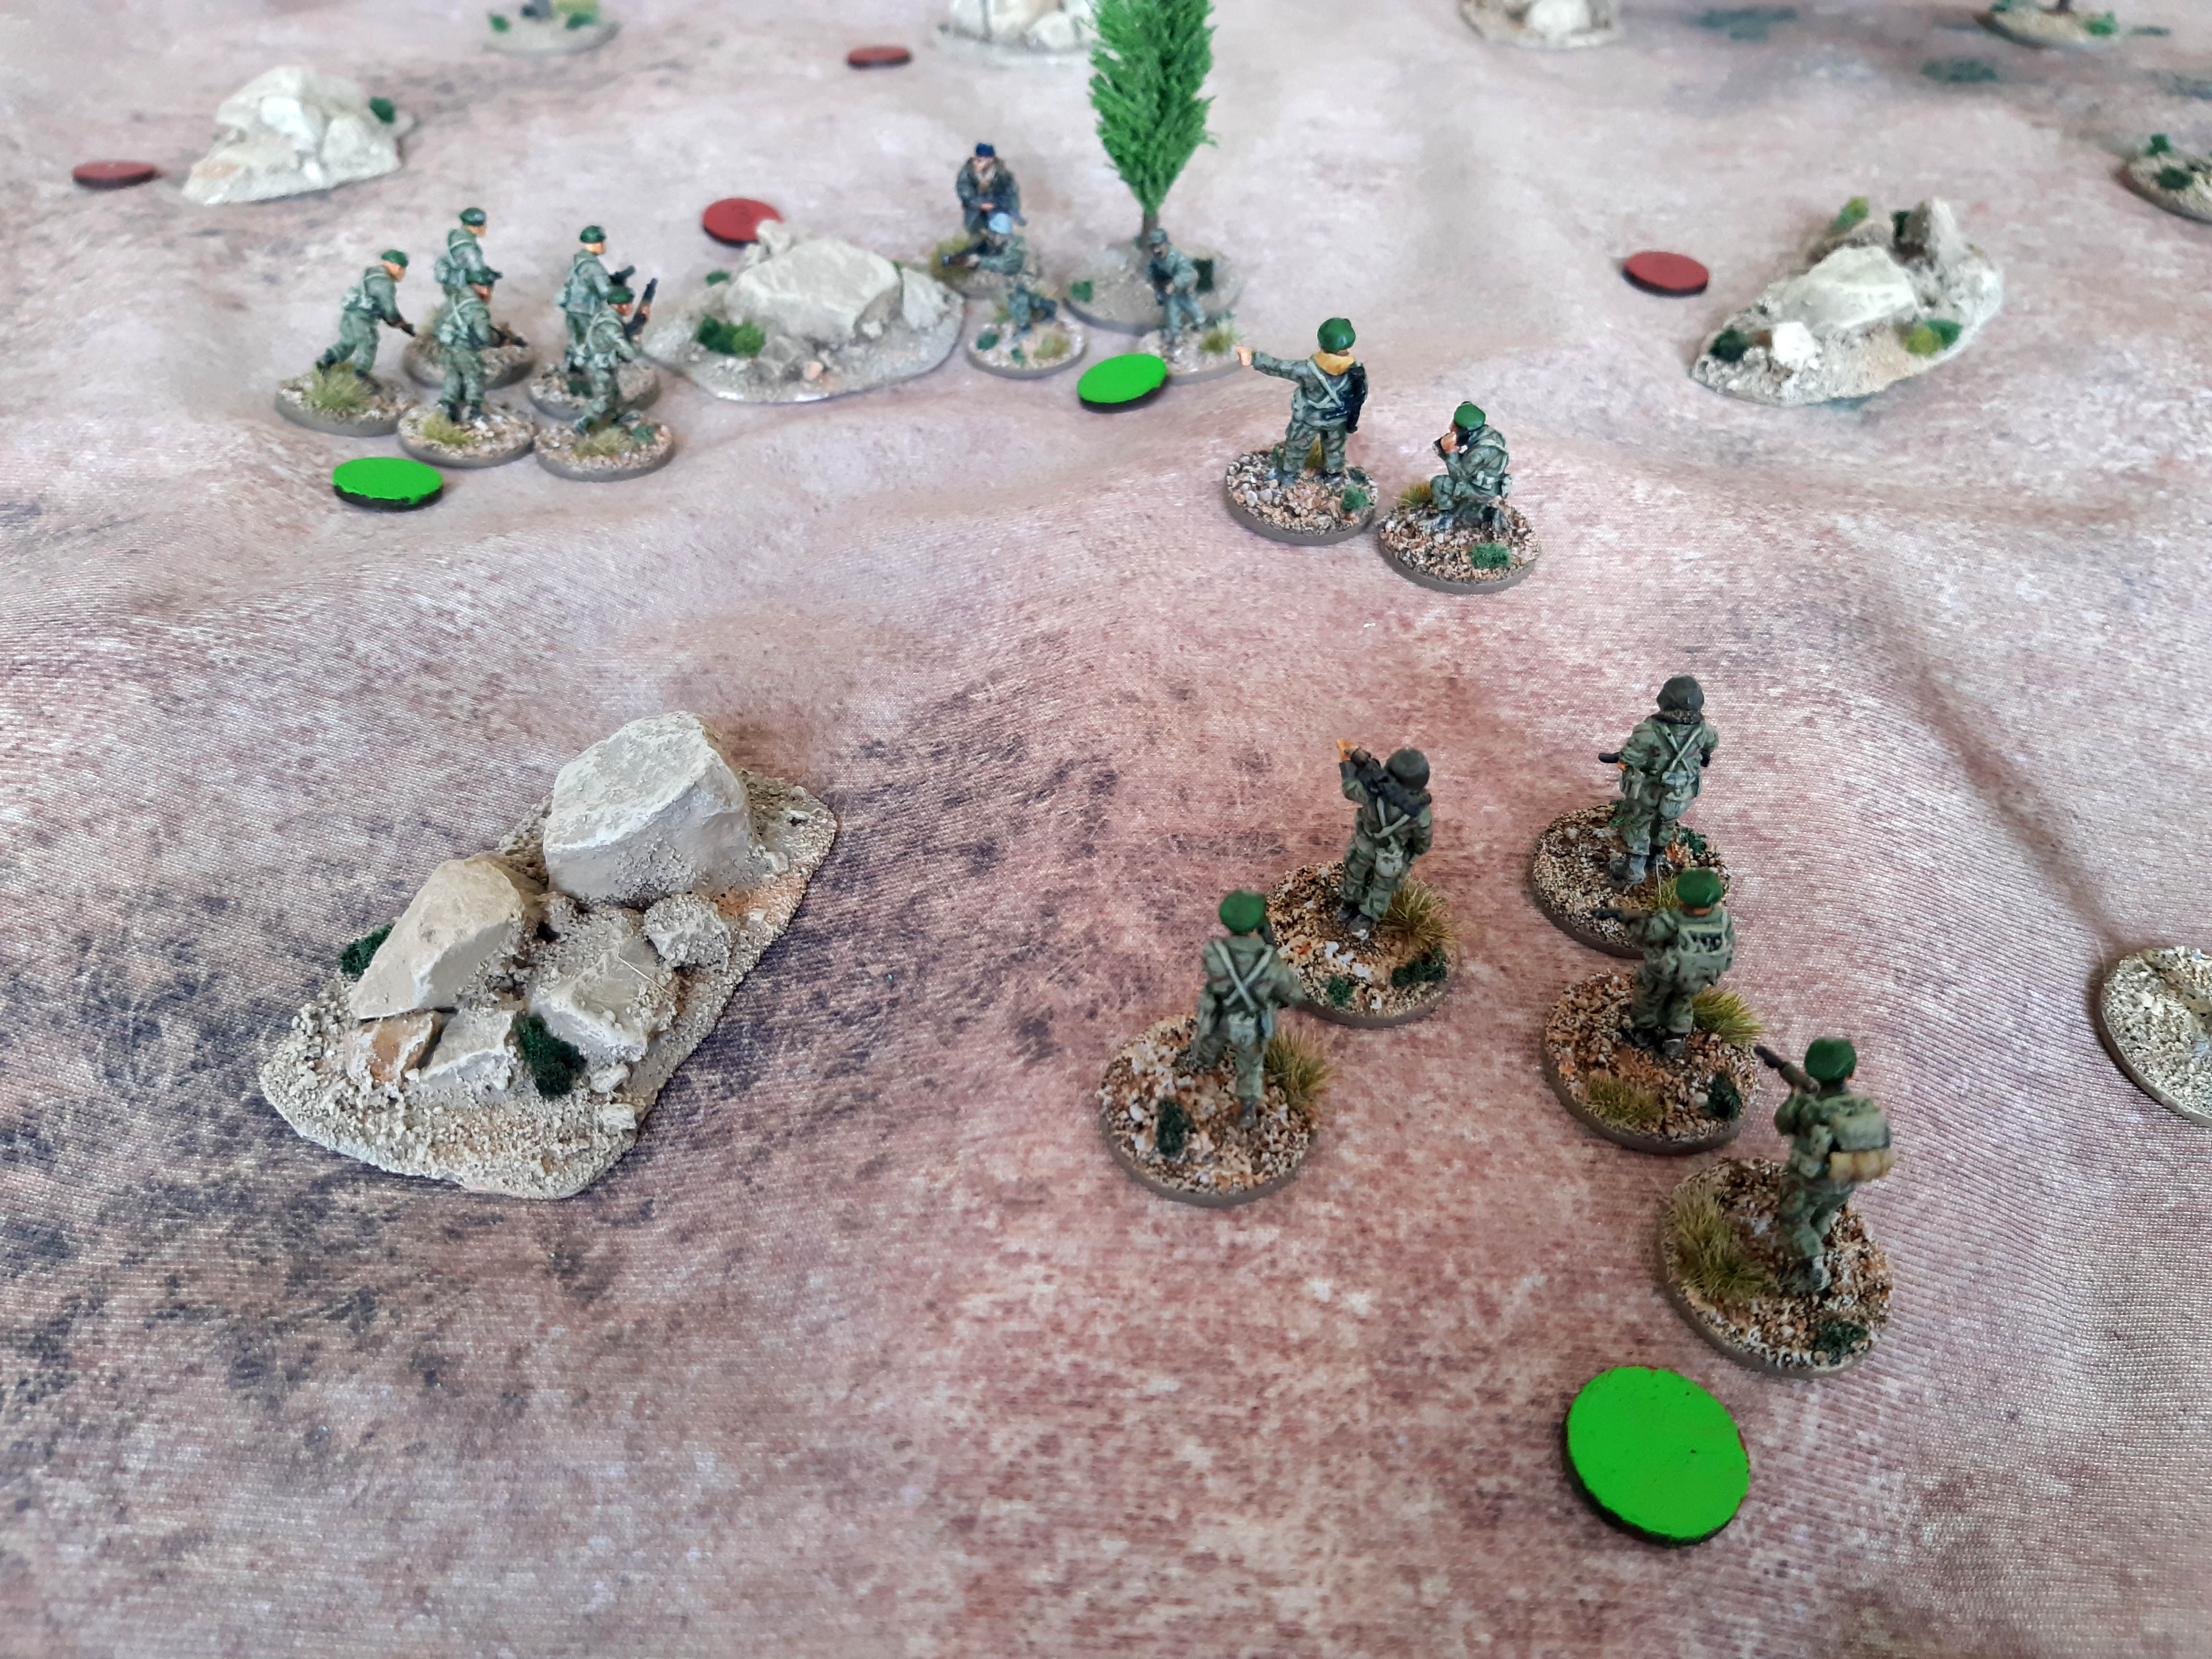
The game is played on a 3ft x 3ft game mat. The area is hilly and undulating with rocky outcrops and a few trees which provide cover and potential ambush points. Six numbered hotspots have been placed on the table from which any insurgents will generate from. Before play 2D6 are rolled to determine how far ahead in inches the ALN are from the pursuing paras.

Game length
The length of the game is 10 turns.
The paras activate with the assault team electing to move. They are in line of sight (LOS) of an ALN unit who win the reaction test and open fire on them. It’s a bad start for the paras as they have a man Wounded in Action (WIA) and out of the game in the first turn. They check morale successfully and push on finishing their move and subjecting the ALN fire team to a withering fire which kills 3 of the 4 insurgents. The last man standing passes his morale check.
The para fire team activation is also interrupted, and they come under fire. However, using their veteran’s experience and making good use of the terrain they don’t suffer any hits. Moving forward and returning fire they put 2 ALN fighters out of action. The surviving ALN morale holds though.
The para HQ is the final unit to activate. The ALN fail to interrupt, and they complete their move.


Turn Two
A positive hot spot roll generates an ALN LMG team at Hot Spot 3.
As all ALN units in LOS fail to interrupt, the para fire team activates and this time the AA52 MG team joins in, opening fire on the remnants of the ALN unit they traded fire with last turn and wiping them out. The team then move forward under fire from the ALN HQ but without taking any casualties.
The para assault team isn’t interrupted on their activation, and they finish off the remaining ALN fighter. As they move forward, the ALN LMG team fires on them but without effect.
The para HQ activates, there’s no more ALN to interrupt so they move forward without incident.


Turn Three
The hot spot roll fails to generate any ALN reinforcements.
The para assault team pass the interrupt reaction test and fire on the ALN LMG team causing a casualty. The remaining LMG gunner passes his morale test and fires back but without effect. The paras now close the gap and passing the check, close assault the gunner, who firing till the end, falls to the para’s relentless assault.
The para fire team, win the reaction test so are not interrupted and attempt to close assault the ALN HQ but they fail the morale check so their activation ends.
Seeing this, the para Captain fires on the ALN HQ, but the Viper uses the ground well so no hits are scored. With his 2 bodyguards they open up on the para HQ killing the Capitan and wounding the radio operator. Merde!

Turn Four
The hot spot roll produces 3 ALN with bolt action rifles and a leader with an SMG at Hot Spot 1 (ALN team A).
The para assault team activate, they’re interrupted by the ALN HQ but their fire is wide. The ALN reinforcements that have just joined fail their reaction test so can’t interrupt the paras who pass their morale check and elect to Close Assault the ALN HQ in a bid to capture The Viper. The Viper decides that discretion is the better part of valour and elects to flee!
Seeing this the para fire team move forward and open up on the fleeing Viper and his bodyguards. In a lethal hail of lead they cut them down. The Viper is dead!


Turn Five
The hot spot roll produces 3 ALN with bolt action rifles and a leader with an SMG at Hot Spot 5.
They are successful with the reaction test and open fire on the para fire team but with no success. The paras return fire and wipe the ALN out. Those reinforcements didn’t last long! They complete their activation by moving forward to occupy Hot Spot 5.
The insurgents at Hot Spot 1 fail to interrupt the para assault team who move forward to occupy Hot Spot 3.


Turn Six
The hot spot roll fails to generate any ALN reinforcements.
Both paratrooper teams stage in place respectively neutralising Hot Spots 3 and 5.

Turn Seven
The hot spot roll fails to generate any ALN reinforcements. Could the fight be draining from the local ALN as word gets round that The Viper will strike no more?
The para fire team move forwards to actually remove the head of The Viper. Well the top brass will want evidence.
The fire team activate, the last ALN unit on the table fails to interrupt and they advance on Hot Spot 4.


Turn Eight
The hot spot roll brings up Hot Spot 4 which is currently being neutralised by the assault team, so no reinforcements appear.
The para fire team take their evidence from The Viper. Grisly work!!!
The ALN unit fire on the paras assault team but yet again any successes they score are negated by better rolls from the French. There’s a lot of difference between D6s and D10s.


Turn Nine
The hot spot roll fails to generate any ALN
reinforcements. It really does look like
the local ALN have given up.
The assault team turn on the last ALN unit. They fail to interrupt and are gunned down to
a man by the ruthlessly efficient paras.
The fire team hold their ground.

Turn Ten
The hot spot roll fails once again to generate any ALN reinforcements.
That’s the last turn. The paras have triumphed. Now they just need to await extraction and that is a story for another day.
 |
| les parachutistes triomphants! |
Conclusion
Quality really told in this game. The D10 Troop Quality die that that paras used was too much for the D8 or D6s of the ALN fighters. I did think of making the insurgency level automatic so that the paras had more adversaries, but I felt that not knowing if the ALN would be reinforced or not added some extra twists to the narrative.
This is the third Ambush Alley game that I've played this year and I've enjoyed every one. It really provides an exciting game with variables being thrown up all the time. It works brilliantly for solo games. It's a deceptively simple and flexible ruleset and I'm going to be using it much more in the future. In as far as my limited knowledge goes, it gives a good representation of asymmetric warfare. I must also try out Force on Force for some regular games.
The Algerian War project has been one of my main focuses this year and it was really good to get a game in. I'm already thinking of what I can do next with adding more elements to games.


Comments
Post a Comment